GCLID data reports stored in Google Analytics can be fetched along with other metrics using the GA4 API. This process is easier than you think. All you need is a Google Analytics property where you store the GCLIDs and a few lines of code. In this article, we’ll explain how you can view reports of your GCLIDs in Google Spreadsheets, thanks to the GA4 API and Apps Script.
Preparing Google Analytics 4 Property to Store GCLID
Before continuing, you need to ensure that your Google Analytics 4 property is already stores the GCLIDs of the visitors. To do this, you first need to create a custom dimension for GCLIDs in your GA4 property. You can then use Google Tag Manager to capture your visitors’ GCLIDs and send them to Google Analytics for storage.
If you haven’t completed this setup on your property, see our article on how to add GCLIDs to Google Analytics. After completing the installation, you can continue. (article link will be added)
Fetching Data with GA4 API on Google Apps Script
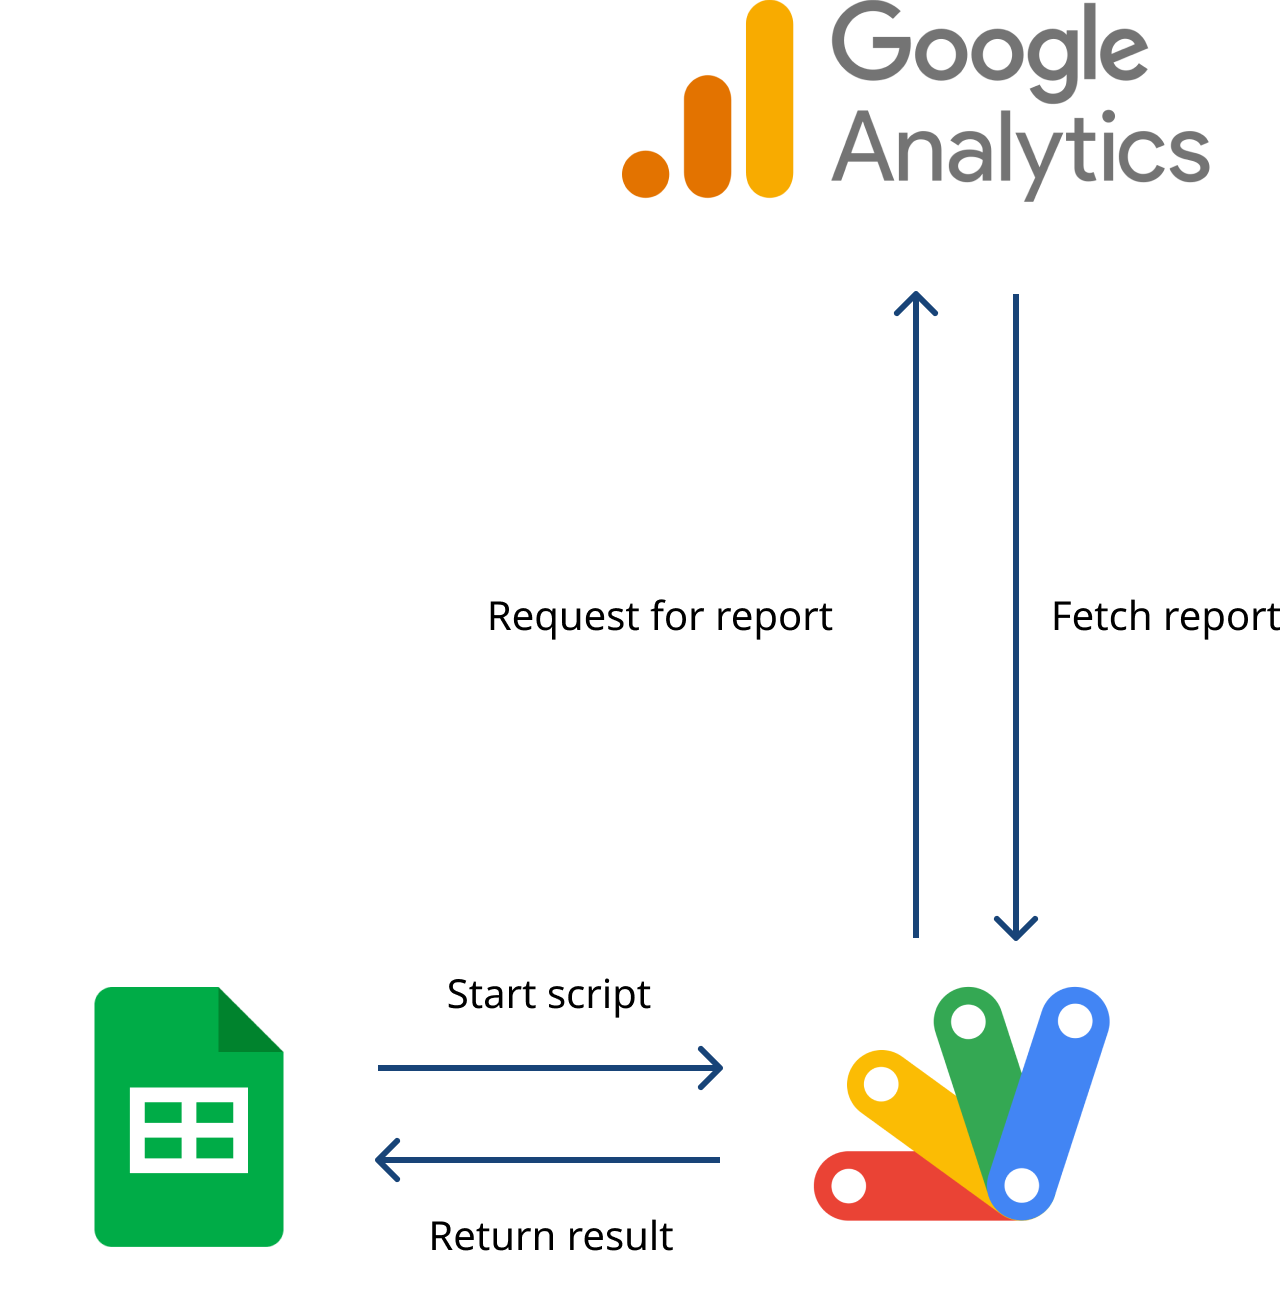
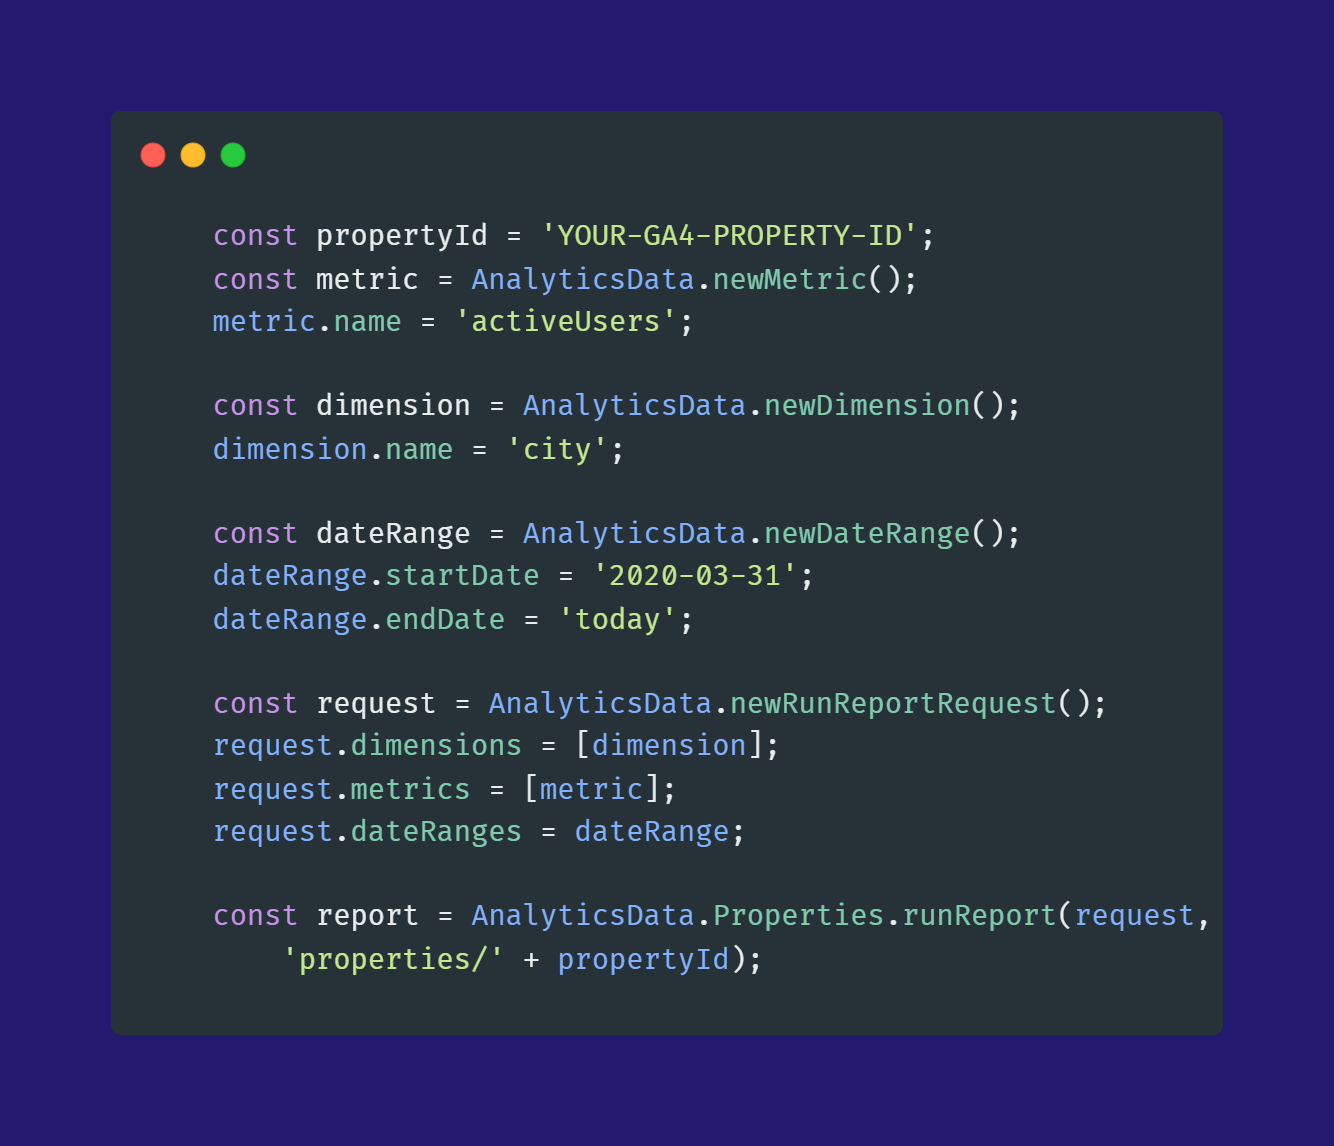
The GA4 API provides Google Analytics users the ability to learn about the structure of their accounts and view reports on their performance. For example, using the GA4 API, you can create a report to get the number of active users by city in a certain date range with the help of a few lines of code. All you have to do is send a request to the API by specifying the property, dimension, metric, and date range. You can see how this happens in the sample code below.
That’s how easy it is. Get quick access to Analytics reports with just a few lines of code that you can edit and run according to your chosen development environment.
In this article, we’ll explain how you can view these reports in Google Spreadsheet files using Google Apps Script.
What is Google Apps Script?
Google Apps script is a scripting platform developed by Google. While working on spreadsheets or documents, you can automate the workflow and perform API operations for Google products. In this article, we’ll perform Google Analytics API operations with Google Apps script.
How to Create a Script on Google Sheets
- Go to sheets.google.com and create a new spreadsheet file.
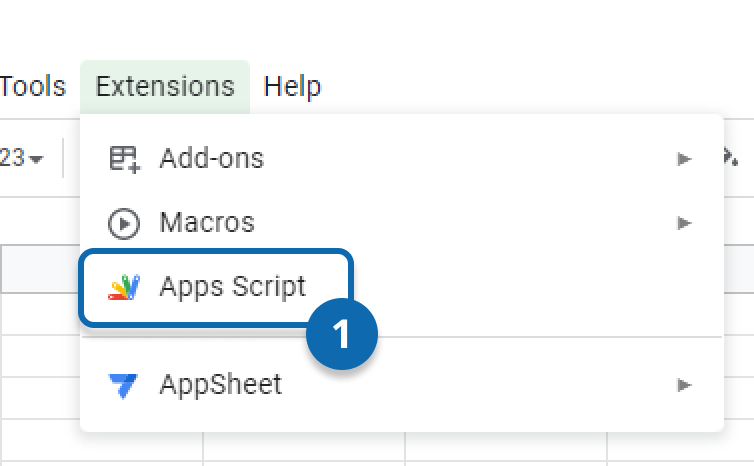
- Once the page load complete, click “Extensions” then “Apps Script”
- Paste the script code at the end of this article to the code editor.
- Edit script parameters. If you are not sure about how to, in the next section we’ll cover this up.
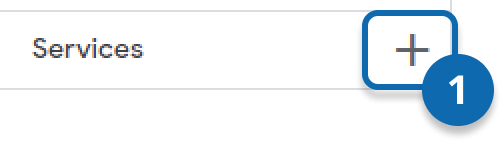
- Click “+” button next to the “Services” section on the left panel
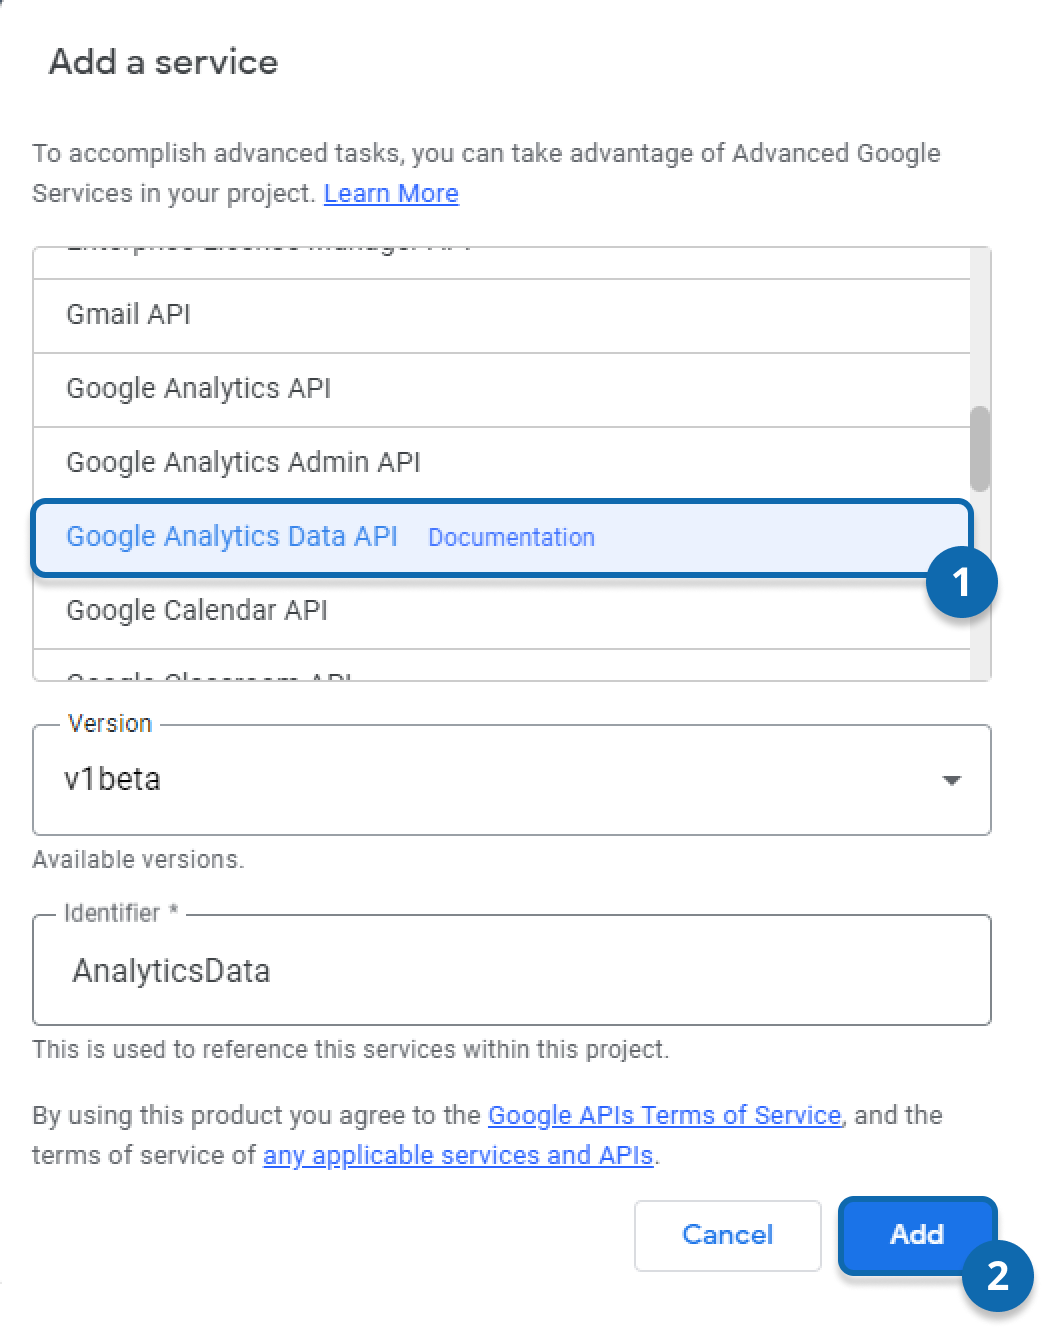
- Find “Google Analytics Data API” on the list and click to select. Click “Add” button.
- Click “Save” button to save code, or by pressing “Ctrl + S”
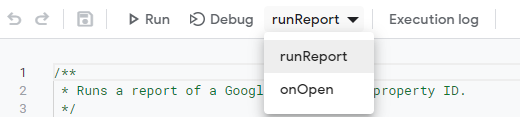
- Select “runReport” from the function list. (required for first run only)
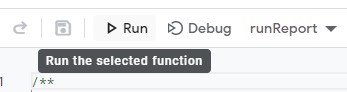
- Click “Run” button on the top panel (required for first run only)
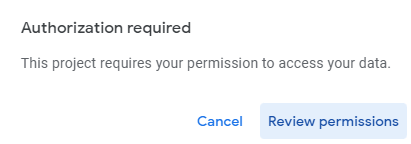
- Authorization prompt will appear to ask you to authorize Google Sheet to access your Google Analytics account. Follow through dialog to authorize.
- Click “Review permissions”
- Choose your Google account.
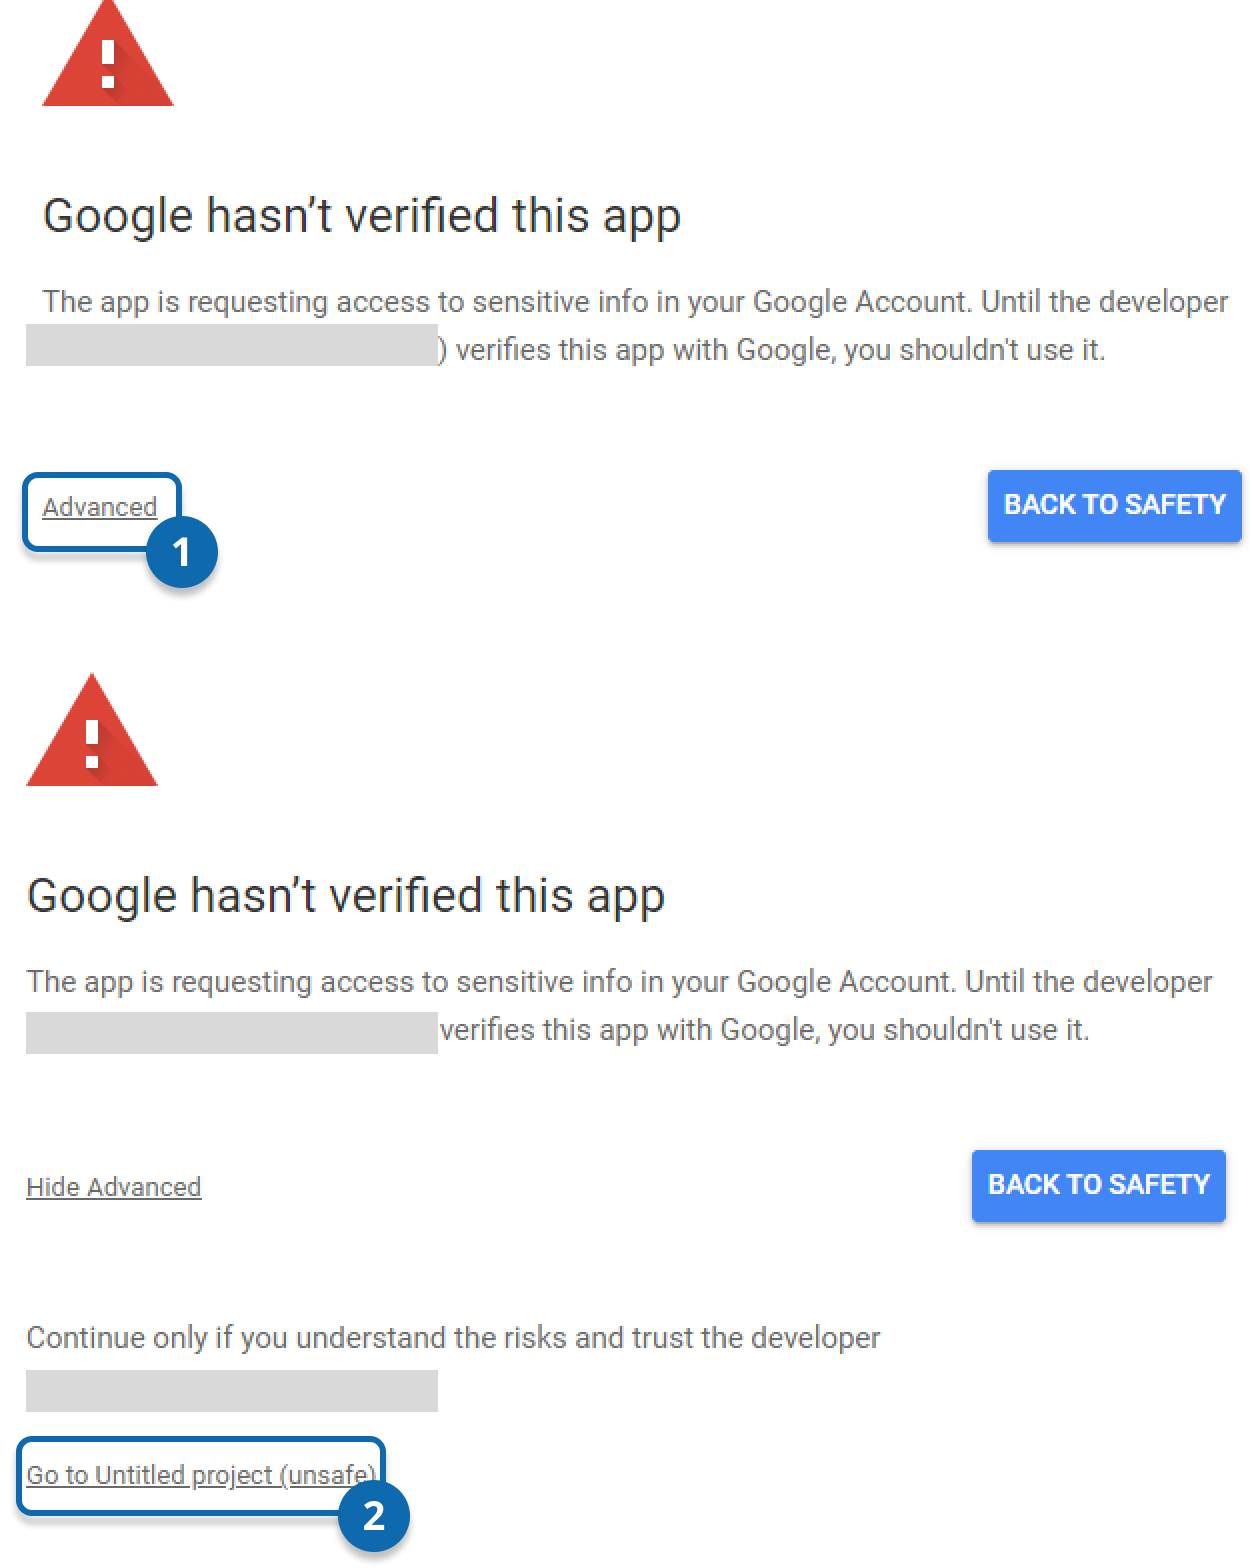
- Since the application you’ve just created isn’t verified by Google, it’ll be marked as “unsafe”. It’s not a problem since only you’ll be able to use the app, it’ll not be publicly accessible. So it’s totally safe to continue.
- Click “Advanced” then “Go to Untitled project (unsafe)” (or the name of your project if you saved with a different name already.)
- Click the “Allow” button.
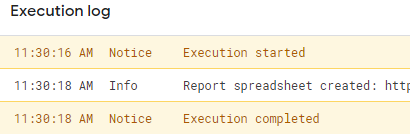
- Script will run. You can check “Execution Log” to see details.
- You can now go to check your sheet to see report details.
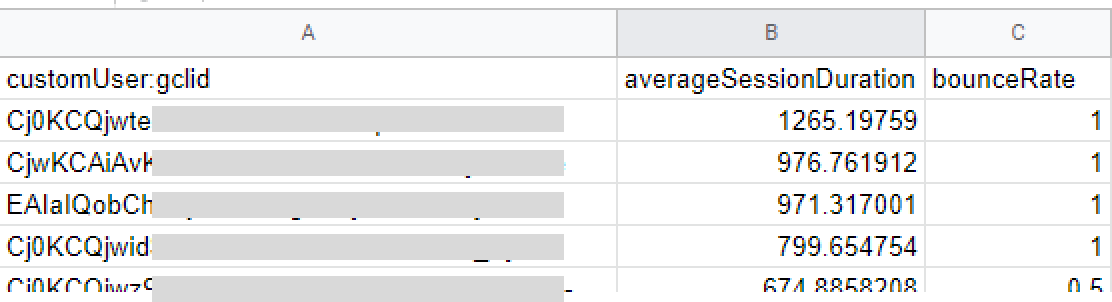
- After you refresh your page, you’ll be able to see a new menu item called “GCLID Report”. You can create a new sheet and click to the “GCLID Report > Fetch Report” to fetch report in every sheet you want to.

How to Edit Script for your own GA4 Property
With this script, we transfer a GA4 report to Google Sheet in the simplest way. However, if you use this script without editing, you’ll encounter errors. To prevent this, you need to edit the necessary parameters according to your own GA4 specification.
Your GA4 Property ID
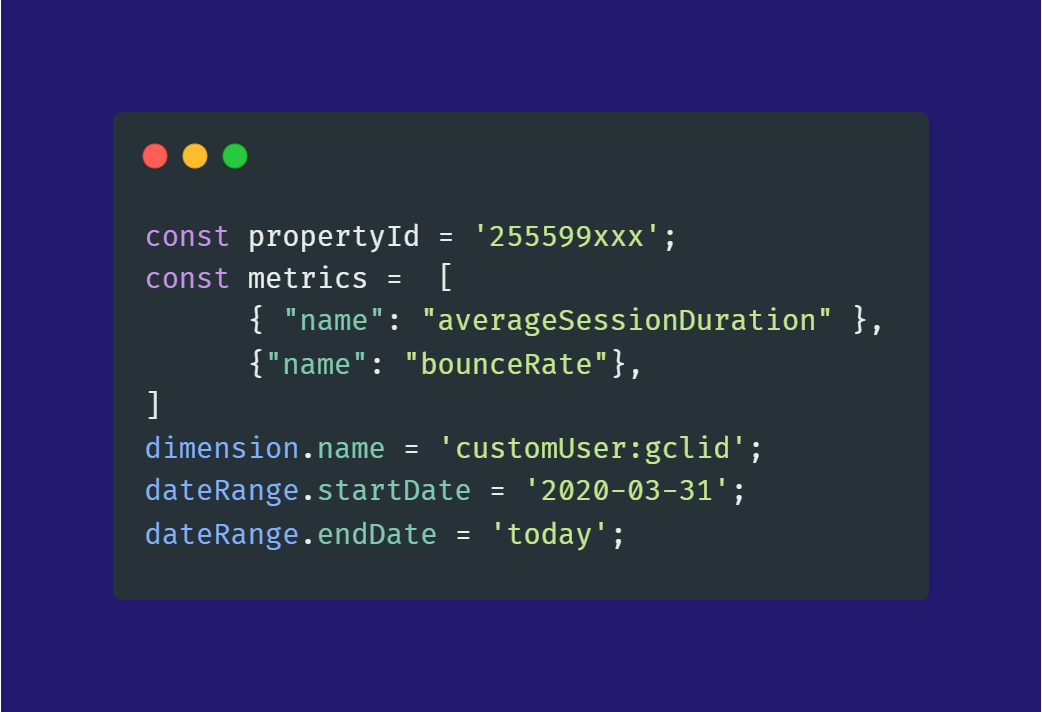
At the xth line of script, you’ll see const propertyId = ‘255599xxx’ parameter. You’ll need to replace ‘255599xx’ with your own GA4 property ID. To do this, you’ll need to:
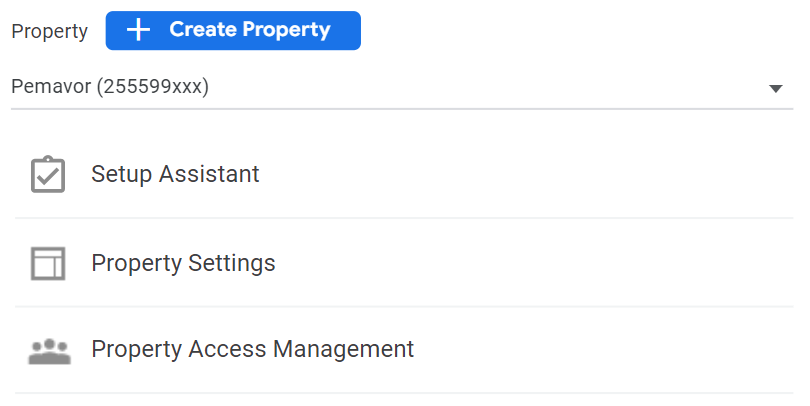
- Login to Google Analytics,
- Click “Admin” button on the left bottom,
- On the middle panel, you’ll see your Property Id.
Metrics You Need
If the metrics in the script do not meet your needs, you can replace them with other metrics you would like to. In order to do this, you need to make sure that the metric name is spelled correctly. To access the metrics list, you can visit the relevant Google Documentation page.
(link will be added to the text) https://developers.google.com/analytics/devguides/reporting/data/v1/api-schema?hl=en#metrics
Your GCLID Dimension
GCLID is a custom added dimension that is not available by default in Google Analytics. So depending on how you created this dimension, your dimension Id may differ.
Be sure to replace the field with your own GCLID dimension Id. Just as dimension.name = ‘customUser:your_dimension_id;
Full App’s Script Code To Fetch GCLID Report From Google Analytics 4
/**
 * Runs a report of a Google Analytics 4 property ID.
 */
function runReport() {
  /**
   * TODO(developer):  Edit Google Analytics 4 property ID before running the sample.
   */
  const propertyId = '255599xxx';
  try {
    const metrics =  [
      { "name": "averageSessionDuration" },
          { "name": "bounceRate" }
      //add more metrics in this format {"name":"metricName"},
      //See avaiable metrics https://developers.google.com/analytics/devguides/reporting/data/v1/api-schema?hl=en#metrics
       ]

    //Replace "gclid" field below with the GCLID custom definition id in your GA4 property
     const dimension =[
    {"name" : "customUser:gclid"}
   ]
    const dateRange = AnalyticsData.newDateRange();
    //Edit report start-end date if necessary
    dateRange.startDate = '2020-03-31';
    dateRange.endDate = 'today';
    const request = AnalyticsData.newRunReportRequest();
    request.dimensions = dimension;
    request.metrics = metrics;
    request.dateRanges = dateRange;


    const report = AnalyticsData.Properties.runReport(request, 'properties/' + propertyId);
    if (!report.rows) {
      Logger.log('No rows returned.');
      return;
    }

  const spreadsheet = SpreadsheetApp.getActiveSpreadsheet();
  const sheet =  SpreadsheetApp.getActiveSheet()

    // Append the headers.
    const dimensionHeaders = report.dimensionHeaders.map(
        (dimensionHeader) => {
          return dimensionHeader.name;
        });
    const metricHeaders = report.metricHeaders.map(
        (metricHeader) => {
          return metricHeader.name;
        });
    const headers = [...dimensionHeaders, ...metricHeaders];

    sheet.appendRow(headers);

    // Append the results.
    const rows = report.rows.map((row) => {
      const dimensionValues = row.dimensionValues.map(
          (dimensionValue) => {
            return dimensionValue.value;
          });
      const metricValues = row.metricValues.map(
          (metricValues) => {
            return metricValues.value;
          });
      return [...dimensionValues, ...metricValues];
    });

    sheet.getRange(2, 1, report.rows.length, headers.length)
        .setValues(rows);

    Logger.log('Report spreadsheet created: %s',
        spreadsheet.getUrl());
  } catch (e) {
    Logger.log(e)
    // TODO (Developer) - Handle exception
    Logger.log('Failed with error: %s', e.error);
  }
}


function onOpen() {
  var ui = SpreadsheetApp.getUi();
  // Or DocumentApp or FormApp.
  ui.createMenu('GCLID Report')
      .addItem('Fetch Report', 'runReport')
      .addToUi();
}